11. 360º VR
We already saw how to create photospheres and videospheres with <a-sky> and <a-videosphere> respectively, and how to create portals between scenes. However, let's look a bit more closely into how to create a 360º VR environment composed of various 360º scenes.
Formats
There are various formats for 360º photos used in VR, but perhaps the most common are equirectangular and cubemap. Figure 1 shows both of these formats (usually the cubemap format is composed of six separate images, one for each face of the cube, the image in Figure 1 is just the composition of these six images).
In this chapter, however, we are going to focus on the equirectangular format only because that is the one supported natively by A-Frame.
Getting 360º photos
The first thing is to collect the 360º photos that will make up our virtual environment (VE). There are various possibilities for this:
- Take photographs with a 360º camera. There are now various affordable cameras that take 360º photos. They usually come with software to convert their native image formats into equirectangular.
- Take photographs with a digital single-lens reflex (DSRL) camera. This is harder to do because you need a panoramic head that allows the camera to pivot around the sensor, calibrate the camera, take multiple photos, and then stich the photos together with special software. However, the quality is usually better than a 360º camera. https://www.youtube.com/watch?v=1v1r5Vx5AZU
- Generate a 360º photo from a virtual environemnt. We already saw how to do this with A-Frame and it is possible to do this with other 3D sofware.
- Download. There are various 360º photos on the Internet that you can use.
- Download from Google Street View. Google Street View has panoramic images from various locations around the world, including indoor locations. You can download equirectangular photos of any location on Street View using https://svd360.istreetview.com/
Editing photos
360º photos taken with a 360º camera or DSRL camera usually have small defects that can be corrected in photo editing software. A common thing to edit is the tripod of the camera that appears in the photo when you look down inside the 360º scene.
You can replace that part of the image with a logo of your company or try to disguise it somehow.
You can also edit any other imperfections that appear in the photo. Because an equirectangular image is a regular image, you can use any editing software for this.
If you use Photoshop, there is now a specific functionality for 360º photos:
Adding to A-Frame
We already saw how to create a photosphere in A-Frame by texturing an <a-sky> primitive with a 360º equirectangular image.
What does <a-sky> do? It creates a sphere with a 500 m radius centered at (0, 0, 0), visible from the inside. Essentially this sphere involves the user with a very distance image surrounding him. Because the image is very far (500 m away), even if the user moves a bit, no noticeable difference in the perspective will occur.
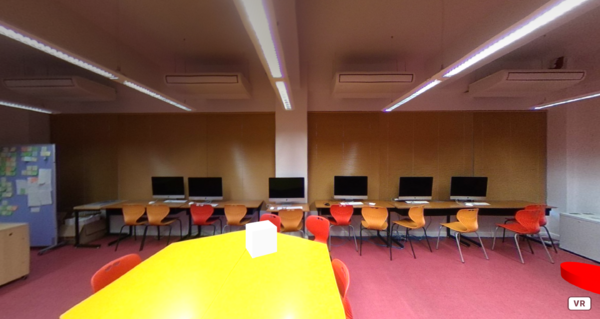
If you add artificial elements to the 360º scene, such as the box in example 0400-textures-04-photosphere, than even small movements will break the illusion because the artificial element will no longer be aligned with the 360º photo. The aligment only works from a single perspective!
Notice that we can achieve the same effect with a sphere (the side="back" is important because by default, the sphere is visible from the outside -- its front):
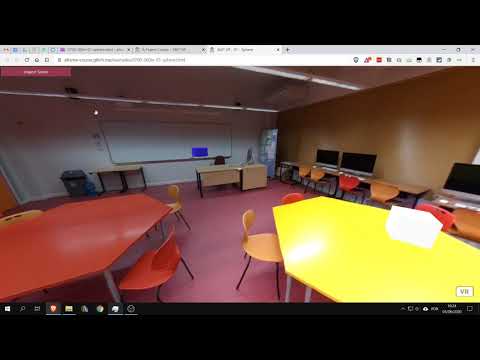
<a-sphere radius="500" side="back" src="#classroom"></a-sphere>0700-360vr-01-sphere
[new tab ]
[source ]
 Click to load.
Use keys 'w', 'a', 's', 'd' to move around.
Mouse to look around.
A-Frame Visual Inspector 🔍
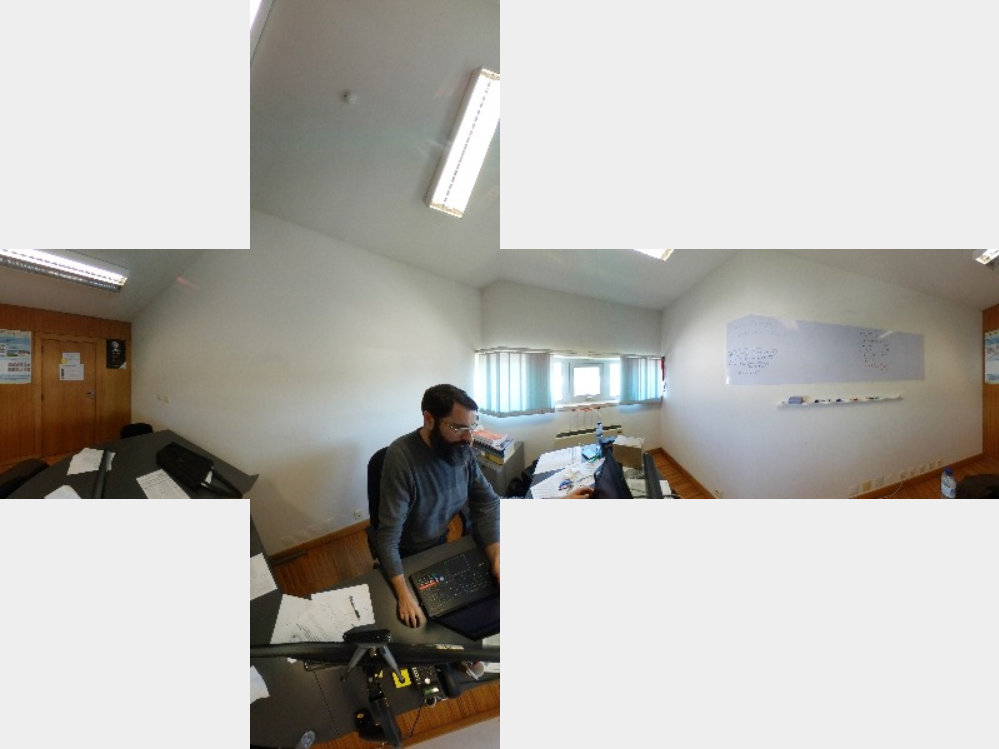
Positioning objects in the scene may be a hard thing to do by just editing values in the code editor. Sometimes it is best to position thing by directly moving, rotating and scaling them interactively in the scene. This is particularly important when trying to align objects with a 360º photo. For this, A-Frame provides us with an interactive Visual Inspector that we can access by opening our scene in the browser and pressing <ctrl> + <alt> + i.
Figure 1 shows the main areas of the Inspector. There is a hierarchical view of the objects in your scene; tools to move, rotate, and scale the selected object; a properties panel showing the attributes of the selected object.
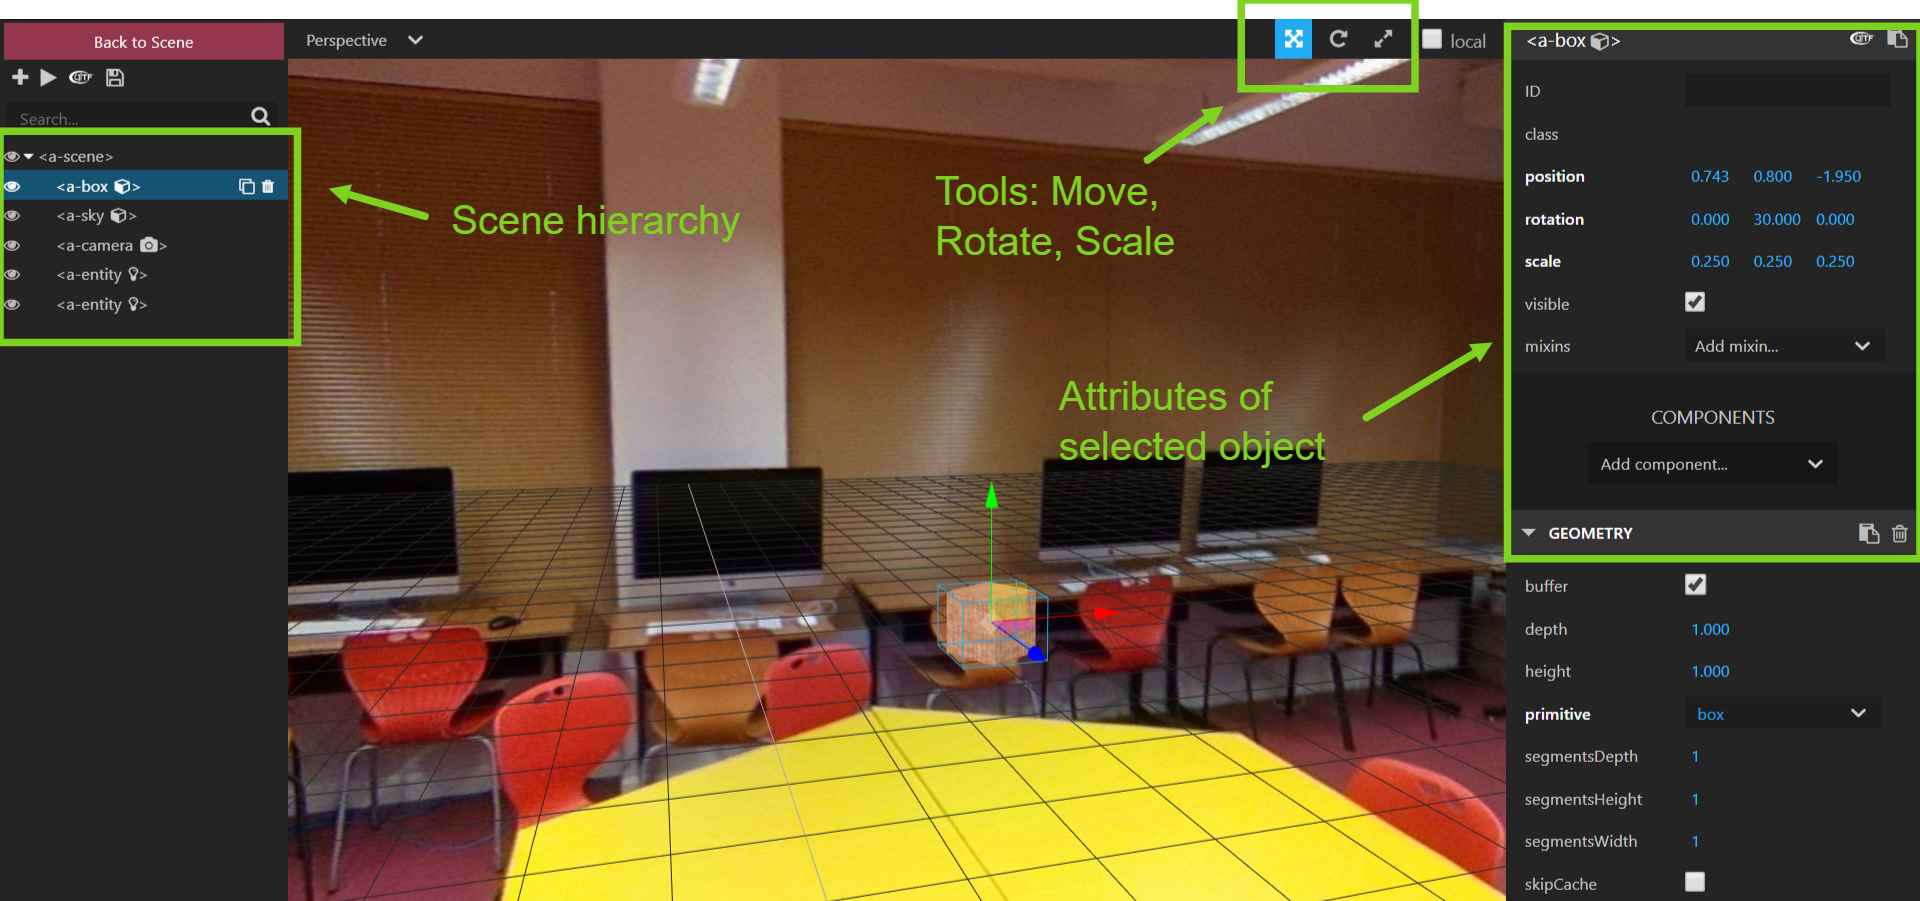
Note that the perspective you have in the Inspector is different from the normal scene perspective. The Inspector gives you a god-like view of everything, including of the camera that represents the view of the user so the perspective of the scene and of the Inspector are necessarily different.
To move and object using the Inspector we need to select that object in the scene hierarchy and then use the Move tool and drag the arrows corresponding to the x, y, and z axes. Similarly for rotation and scaling. Figure 3 shows these tools in action.

Notice how the numbers in the properties panel change as you use the tools. After you are happy with a given position, rotation, or scale of an object you can just copy the values in the properties panel back to your code.
Your edits in the Inspector are not permanent! As soon as you reload your scene your edits will be lost! In order to make them permanent, you need to copy the values back to your code in the code editor.
Aligning objects in 360º scenes
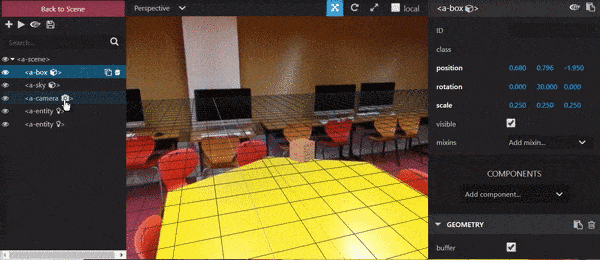
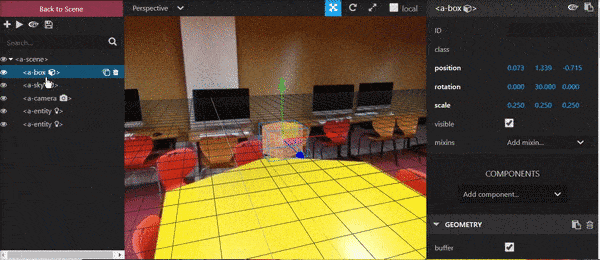
To align objects with a 360º photo you essentially use the tools described before. However there is an important detail to observe: you must make sure that when you are positioning the objects, you god-like view is aligned with the user's default view in your scene. This means that, in the Inspector, you must find the camera object (which represents the user's view) and move your perspective in the Inspector to the camera. This requires a little patience as it is not easy to align the two perspectives.
The alignment between the user's perspective and your own does not have to be perfect…
Adding information panels
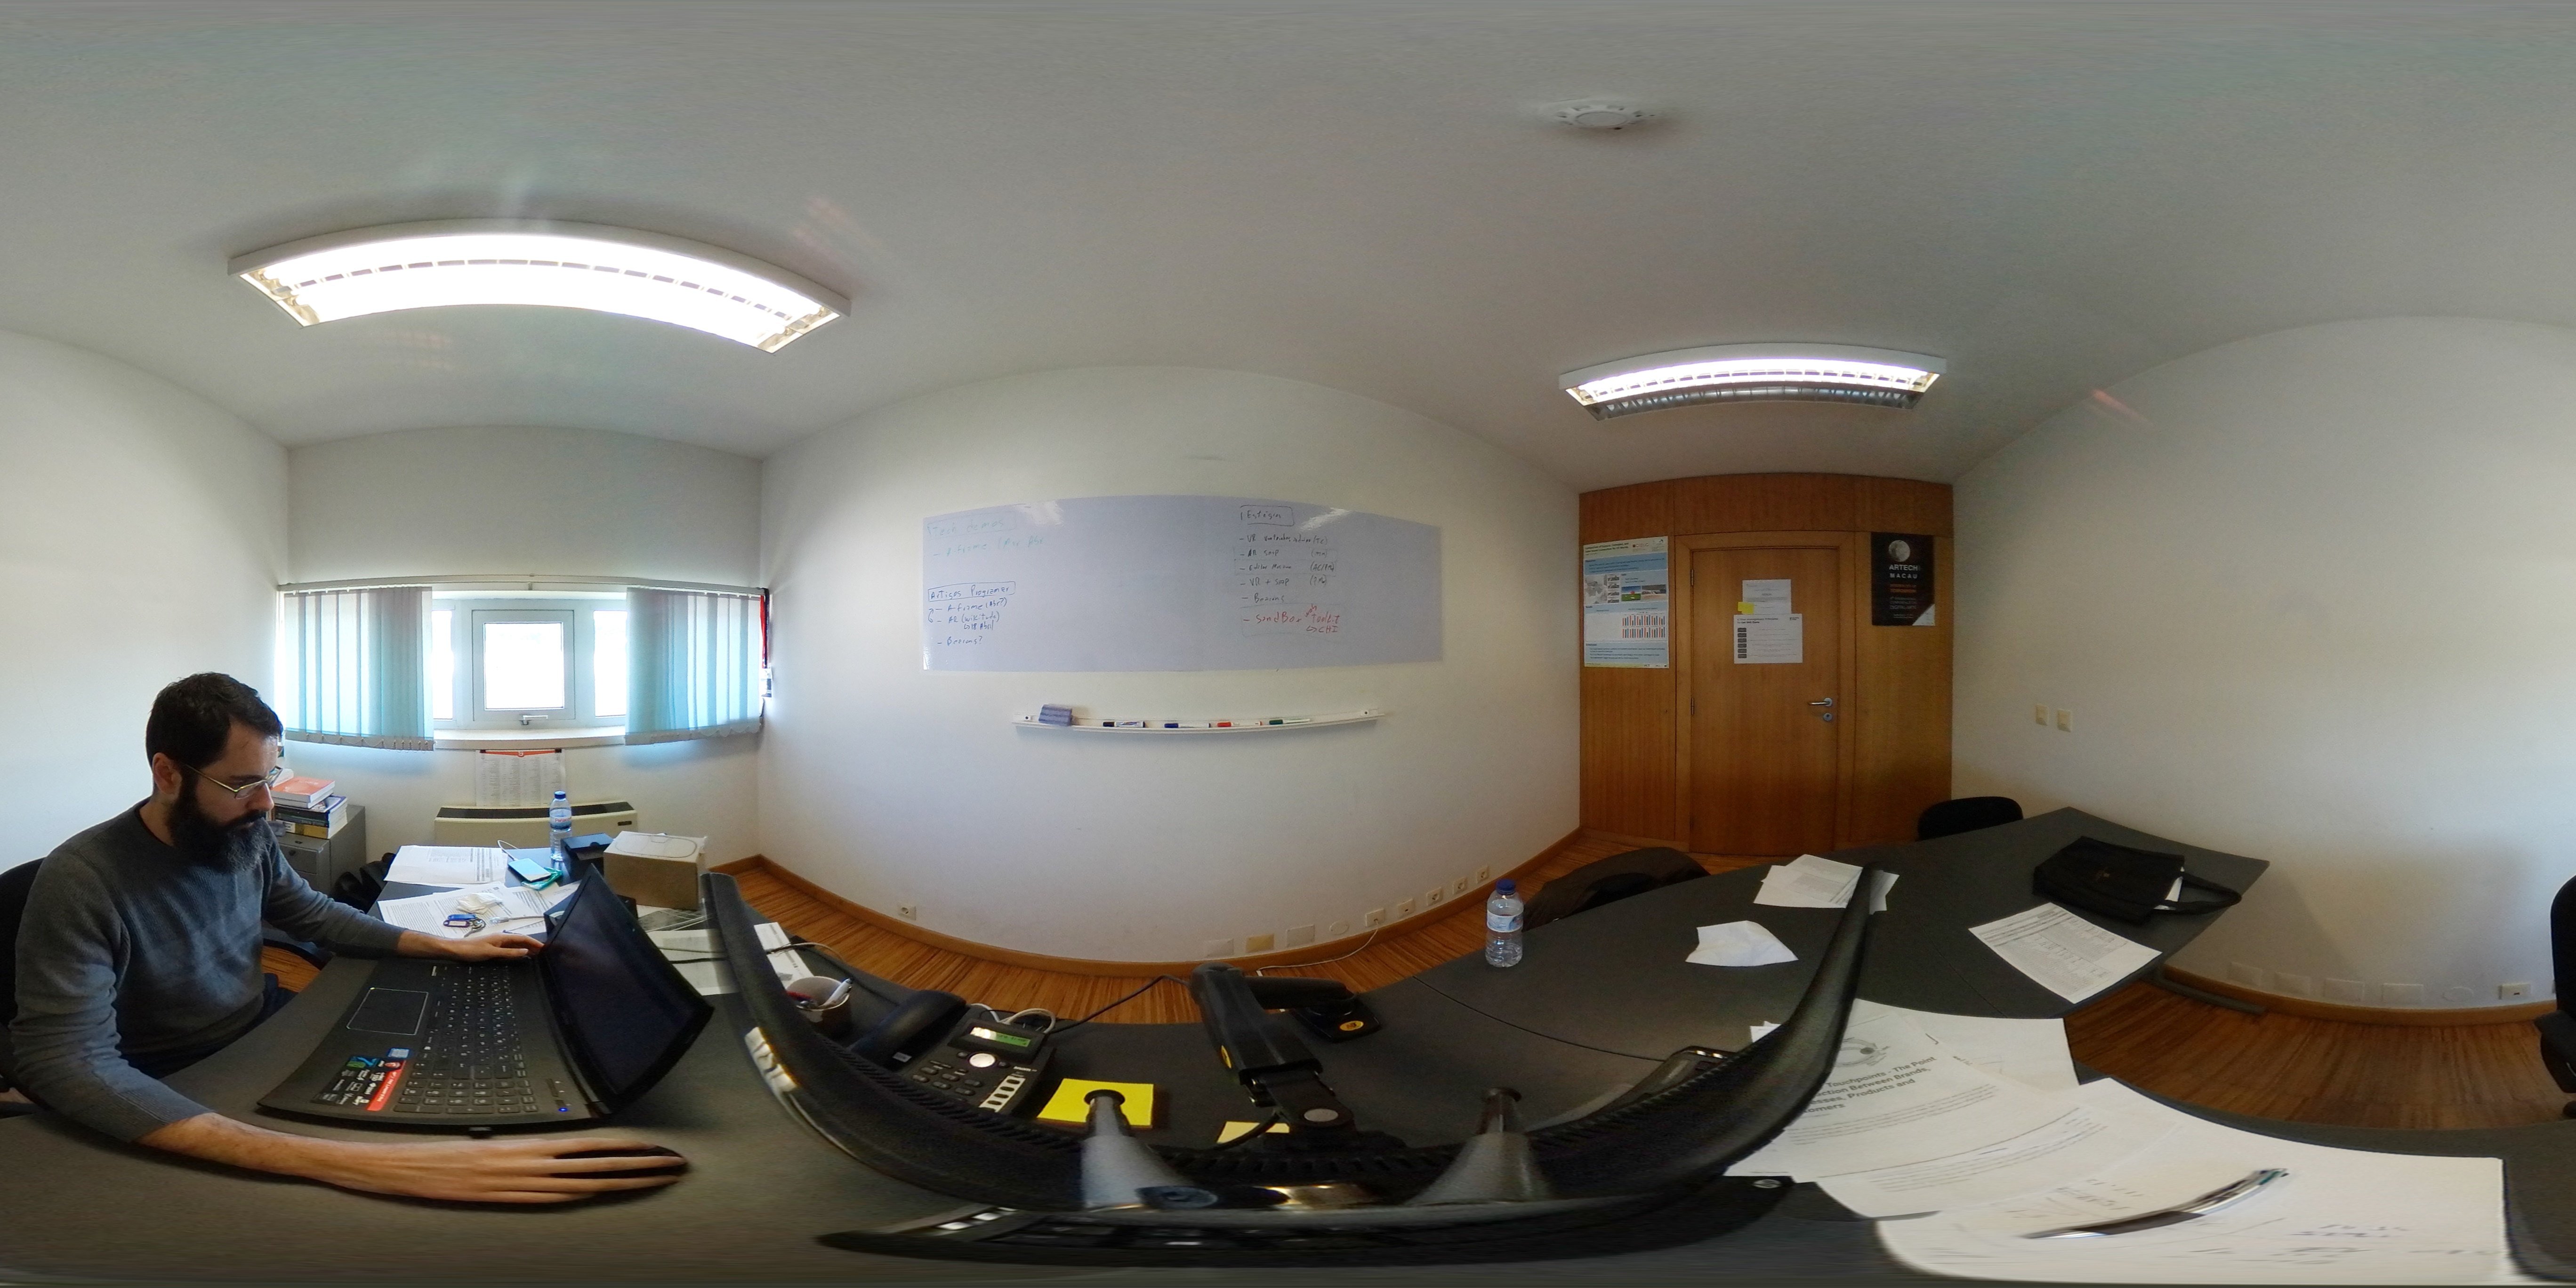
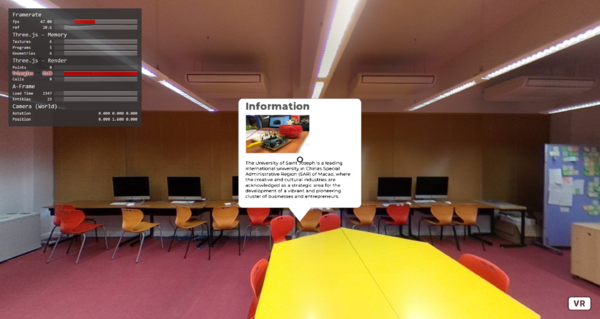
Now that we know how to align things with the 360º photo, we can add information panels to our scene, like the one in Figure 4.
The information panel has several elements: a background (image), a title (text), an illustrative picture (image), and a description (text).
0700-360vr-02-infopanel.To create a panel like the one in Figure 4, we must structure the elements in a hierarchy that makes it easier to manipulate and adapt.
The info panel is created with the following code:
 <a-entity class="infopanel" position="0 1.6 -1.5" look-at="#camera">
        <a-image src="#infopanel-background" height="1" width="1"></a-image>

        <a-text
          class="title"
          font="https://raw.githubusercontent.com/jorgecardoso/aframe-course-resources/master/fonts/montserrat-bold.fnt"
          position="0.07 0.44 0.001"
          width="1"
          value="Information"
          align="left"
          color="#595a5a"
          anchor="center"
          baseline="top"
          height="0.02"
          wrap-count="20"
        ></a-text>

        <a-image
          position="-0.1764 0.2 0.001"
          src="#fci"
          height="0.3"
          width="0.5"
        ></a-image>

        <a-text
          class="description"
          baseline="top"
          width="0.86"
          font="https://raw.githubusercontent.com/jorgecardoso/aframe-course-resources/master/fonts/montserrat.fnt"
          position="-0.43089 -0.014 0.001"
          value="The University of Saint Joseph ... "
          align="left"
          color="black"
        >
        </a-text>
      </a-entity>
The first thing to notice is that our panel is enclosed in a generic <a-entity>. This allows us to group all the elements that make up the panel and then easily move and rotate the whole panel. All primitives inside the outer <a-entity> are placed relative to that entity.
The <a-entity> has a class attribute that just serves to more easily identify the entity and distinguish it from other entitiesin the A-Frame Inspector (the Inspector shows the value of the class and id attributes in the object hierarchy panel).
The class attribute is used in HTML for styling elements. By assigning different elements the same class, we can then style them all with the same set of rules. In A-Frame the class attribute has a more narrow use and are not used for stylinig. The id attribute assigns a unique identification to the element and cannot be repeated in the same file.
Also note that we are using look-at="#camera" in the panel entity. The look-at is used by the Look-At component which makes the object face the camera automatically so that we don't need to worry about rotating the panel manually. Because we want all our information panels directly facing the user, this saves us some time.
The Look-At component is loaded by:
<script src="https://unpkg.com/aframe-look-at-component@0.8.0/dist/aframe-look-at-component.min.js"></script>Inside the entity, the primitives have been positioned and adjusted with the A-Frame Inspector, as described before.
We are using a few text attributes that have not been described so far, but you can easily find the documentation for them in A-Frame's website
0700-360vr-02-infopanel
[new tab ]
[source ]
 Click to load.
Use keys 'w', 'a', 's', 'd' to move around.
Mouse to look around.
Try changing the position of the information panel inside the scene, moving farther away and to one side.
Multiple 360º photos in one scene
A typical 360º tour is composed of several 360º photos which users navigate by activating portals between them. We could put each 360º photo in its own .html file and link the files through the portals as we have done before (see the Portals chapter). However this introduces loading times between 360º photos which can decrease the quality of the VR experience.
An alternative is to place all the 360º photos in the same scene and create internal links between them. This requires an external component because A-Frame does not have the concept of internal links.
The first thing is to place the various <a-sky> that will hold the 360º photos. Because we will need to position these far apart from each other, and because we will later on add content to each 360º location, we can apply a similar structure to the information panel and enclose each 360º location in an <a-entity>:
<!-- Classroom -->
<a-entity id="classroom" position="0 0 0">
      <a-sky src="#classroomPhoto"> </a-sky>
</a-entity>

<!-- Corridor outside classroom -->
<a-entity id="outside1" position="10000 0 0">
      <a-sky src="#outsidePhoto-1"> </a-sky>
</a-entity>

<!-- Corridor  further away -->
<a-entity id="outside2" position="20000 0 0">
      <a-sky src="#outsidePhoto-2"> </a-sky>
</a-entity>
Notice that these entities need to be placed very far apart, because the <a-sky> has a default radius of 500 m. The exact location is not important, so long as the <a-sky>s don't overlap.
We then need a way to "jump" between these locations. For this we will use the Web-Centric component by including its JavaScript file:
<script src="https://unpkg.com/aframe-webcentric-component/dist/aframe-webcentric-component.min.js"></script>and adding the webcentric attribute to the scene:
<a-scene webcentric>The Web-Centric component allows to jump between locations inside a scene by using the hash part of the URL. If we create a link to the URL #cameraPos=10000,0,0, the Web-Centric component will notice this and move the camera to the position (10000, 0, 0).
You can manually test this in the following example. Open up the example and add #cameraPos=10000,0,0 at the end of the URL in your browser's address bar. Notice how the scene jumps to another 360º photo.
0700-360vr-03-multiple
[new tab ]
[source ]
 Click to load.
Use keys 'w', 'a', 's', 'd' to move around.
Mouse to look around.
Try adding #cameraPos=1000,0,1000 to the URL and see what happens. Can you explain it?
Adding portals
We already saw how to create portals between scenes in different HTML files, and also how to align objects with the 360º photos. In this section, let's see a more structured way to manually place the portals in 360º photos.
To facilitate placement, let's structure our portals:
<!-- Classroom -->
<a-entity id="classroom" position="0 0 0">
<a-sky src="#classroomPhoto"> </a-sky>
<a-entity class="hotstpotHeading" rotation="-3.438 -129.259 0.000">
<a-link
href="#cameraPos=10000,0,0"
link="visualAspectEnabled:false"
position="0 1 -7"
rotation="0 28.648 0.000"
src="#arrow"
>
<a-image src="#arrow"> </a-image>
</a-link>
</a-entity>
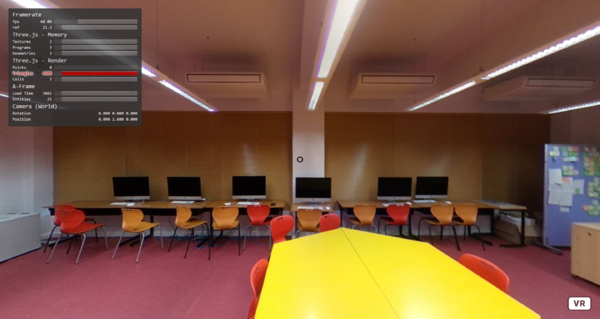
</a-entity>The <a-entity class="hotstpotHeading" represents the portal and allows us to separate the placement of the portal from the rotation of the portal image itself. The rotation to apply to this entity can extracted by using the WebCentric component along with the Stats component: <a-scene webcentric stats>. (The Stats component is part of A-Frame so no additional JavaScript file is necessary. The Stats component overlays performance information in the browser window and, in combination with the WebCentric component displays the current camera position and rotation.)
To get the rotation to apply to the entity:
- Edit the scene where you want to add the portal and add the WebCentric, and Stats components to the the
<a-scene> - Open the scene in the browser and rotate your perspective to place the cursor where you want to add the portal
- Copy the rotation from the stats panel (Figure 5).
- Edit the scene and paste the values into the
rotationattribute
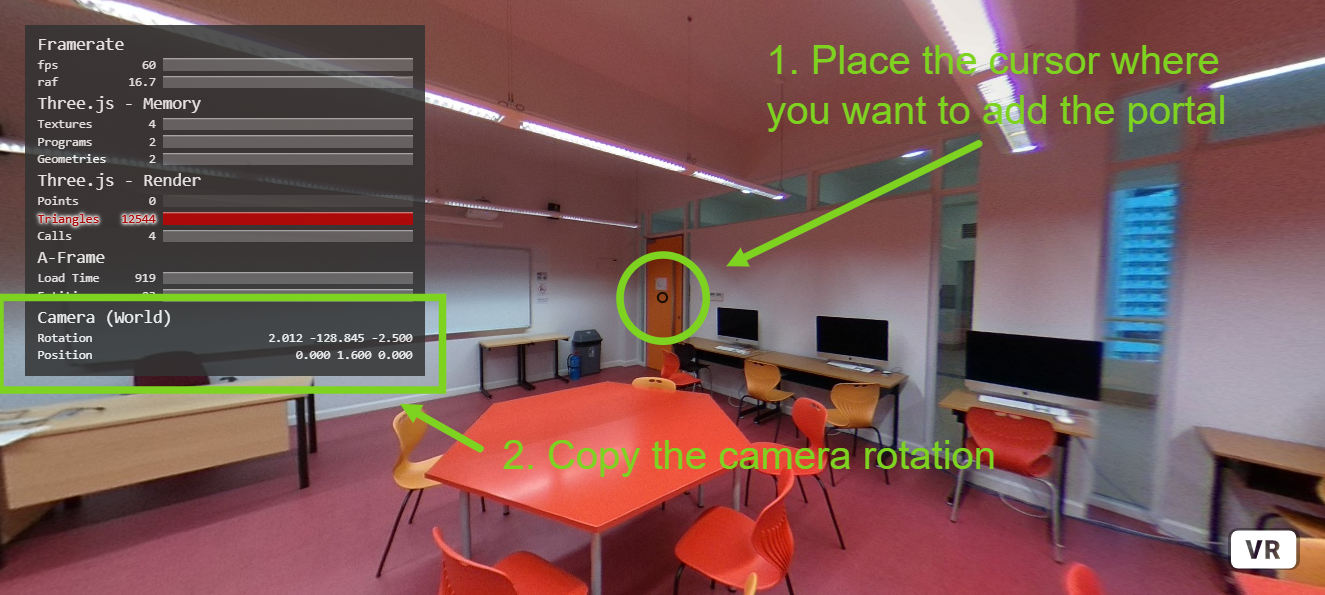
0700-360vr-02-infopanel.You can remove the Stats component after you get the rotations for all the portals. It is not needed to experience the resulting 360º tour.
The previous steps define the heading of the portal inside the 360º photo. What is left is adjusting the distance of the portal to the center to make it bigger or smaller, and adjusting the rotation to make a better fit inside the photo. This is done by adjusting the position and rotation of the <a-link> and is better done inside the Inspector. For the position, you essentially need to adjust the z value to make it closer or farther away. For the rotation, most often you just need to adjust the rotation along the x axis to tilt the image.
0700-360vr-04-portal
[new tab ]
[source ]
 Click to load.
Use keys 'w', 'a', 's', 'd' to move around.
Mouse to look around.
A complete 360º tour
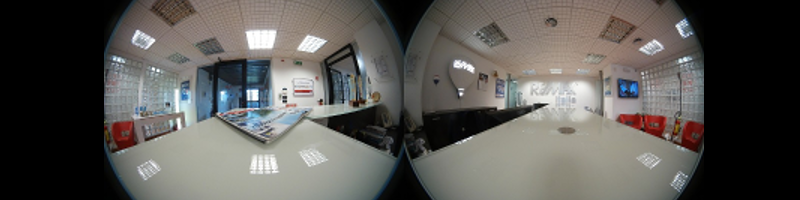
Example 0700-360vr-05-vrtour shows a VR 360º tour with three 360º locations.
0700-360vr-05-vrtour
[new tab ]
[source ]
 Click to load.
Use keys 'w', 'a', 's', 'd' to move around.
Mouse to look around.