3. Introduction to HTML
This chapter introduces the basic terminology of the HyperText Markup Language (HTML): the language that is used to create all web pages.
3.1 HTML
HTML is the language to create web pages and it is the language we will be using to create Virtual Reality environments that run on a web browser. In this chapter, we will go through the main elements of HTML.
We will only describe the essential of HTML in order to make it easier to understand the structure of the code when we get to A-Frame. We will not be creating standard web pages, nor using most of the traditional HTML elements.
An example structure of a web page is:
0020-introhtml-01-structure
[new tab ]
<!DOCTYPE html>
<html>
<head>
  <title>Intro HTML - 01 - Structure</title>
</head>
<body>


</body>
</html>
HTML is based on tags. A tag is a word written between the symbols < and >. Tags are usually used in pairs consisting of a starting tag and ending (or closing) tag. Notice, for example, the <title> starting tag and the </title> ending tag. The ending tag always starts with a forward slash /.
The starting and ending tags delimit an HTML element. The title element, for example defines the title of the web page (the text your browser shows in the tab of the web page). Everything between the starting and ending tags is called the content of the element. In the title element, the content is just the text: "HTML Basics". But the content of one element may be other elements.
Elements (things between a starting and ending tags) can be nested – they can have other elements inside them. Notice, for example, on the head element: it has a title element and a script element inside of it. The head element is where we define the title of the web page and where we load scripts of code that the browser will execute on the web page.
The most important element in a web page is the body – delimited by the <body> and </body> tags. Everything inside the body is considered the content of the web page.
Example 0020-introhtml-02 shows a simple web page with some elements in the body.
0020-introhtml-02
[new tab ]
[source ]
 Click to load.
Use keys 'w', 'a', 's', 'd' to move around.
Mouse to look around.
Go ahead and create a new file in your project. Copy the source code from example 0020-introhtml-02 to your newly created file and add the following line of code inside the body, just after <body>:
<h1>This is a web page</h1>Then preview the result.
Example 0020-introhtml-02 shows a few basic HTML elements:
The paragraph element, <p>, declares a paragraph of text.
The anchor element, <a>, creates a link to another web page.
The level 2 heading element, <h2>, defines a heading in the document (subsection).
The <h1> element creates a level 1 heading (section title).
The image element, <img> displays an image in the webpage. Notice that this element does not follow the rule: it does not have an ending tag!
3.2 Attributes
HTML elements can have attributes to specialize the element and give it concrete characteristics.
For example, the element that creates a link is the anchor element created with the tag <a>. To specify where the link points to, we add an href attribute to the element:
<a href="https://https://www.uc.pt">This links to University of Coimbra's main site</a>Attributes are name=value pairs. The value of an attribute is always written inside quotes " ".
Some attributes only work for certain elements (for example the href is mostly used for the anchor element.
There are some attributes that can be used in any element, though.
3.2.1 ID attribute
The id attribute is used to assign a unique identification name to an element inside a webpage. This makes it easier for us to refer to that element:
<h1 id="title">
 Chapter title
</h1>
The previous code assigns the id "title" to the <h1> element. When an element has an id, we can refer to that element using the syntax #id, for example #title. This is used, for example, to create internal links that point to different parts of the webpage.
The following, would create a link to the previous <h1>:
<a href="#title">Internal link to the chapter's title</a>3.2.2 Style attribute
Another attribute that can be used in any element is the style attribute. The style attribute is used to apply CSS styles to the element.
CSS styles are most often applied to elements using other strategies that the style attribute. However it is important to discuss here the syntax of the style attribute because A-Frame uses the same syntax, although with another purpose.
CSS itself is a different language from HTML. We will not discuss CSS in any detail.
For example to apply a red text color and a blue background to the <h1> we could write:
<h1 id="title" style="color:red; background-color:blue">
 Chapter title
</h1>
Notice that the value of the style attribute is color:red; background-color:blue. This value can itself be decomposed into properties: the color property, and the background-color property. Property values are written after a colon :. Different properties are separated by a semi-colon ;.
You can learn more about HTML and CSS on the Mozilla Developer Network documentation site. See the HTML References and CSS Reference.
3.3 JavaScript
JavaScript is yet another language, different from HTML and CSS. JavaScript allows an HTML web page to be dynamic and respond to users' interactions.
A piece of JavaScript code is associated with an HTML page through the <script> element:
0020-introhtml-03-javascript
[new tab ]
<!DOCTYPE html>
<html>
<head>
  <title>Intro HTML - 03 - JavaScript</title>


</head>
<body>
<h1>Title</title>
<ul>
<li>Item</li>
</ul>
<button>Add</button>

<script>
let button = document.querySelector("button");
button.addEventListener("click", function() {
  let list = document.querySelector("ul");
  let newItem = document.createElement("li");
  newItem.innerText = "Item";
  list.appendChild(newItem);
});
</script>
</body>
</html>
If you run this example (click "new tab"), you will see that new HTML elements are created as you click the "Add" button in the web page.
In Example 0020-introhtml-03-javascript the <script> element contains the JavaScript code. However, it is customary to place the JavaScript code in another external file and use the src attribute to specify the location of the JavaScript file:
<script src="myJavaScriptFile.js"></script>Exercises
For each exercise, you should create a new HTML file on your Glitch project and copy the source code from Example 0020-introhtml-01-structure as a basis for solving the exercise.
These exercises are meant for you to search for the HTML elements in the HTML Reference and learn more about them autonomously.
Ex3.1 Intro-HTML
Add HTML elements to the <body> so that you end up with something like the follwing:
Use HTML elements such as <h1>, <h2>, <h3>, and <p>.
Ex3.2 Intro-HTML
Look up the elements <b>, and <i> in the HTML reference and use them to achieve the following result:
Ex3.3 Intro-HTML
Make a copy of Exercise HTML-02 and insert an image after the title (use the image file at https://cdn.glitch.com/80978ab7-9db6-45ae-bc43-4fab16bdbb6e%2F26251779237_2707dd2084_k.jpg?v=1523875921384):
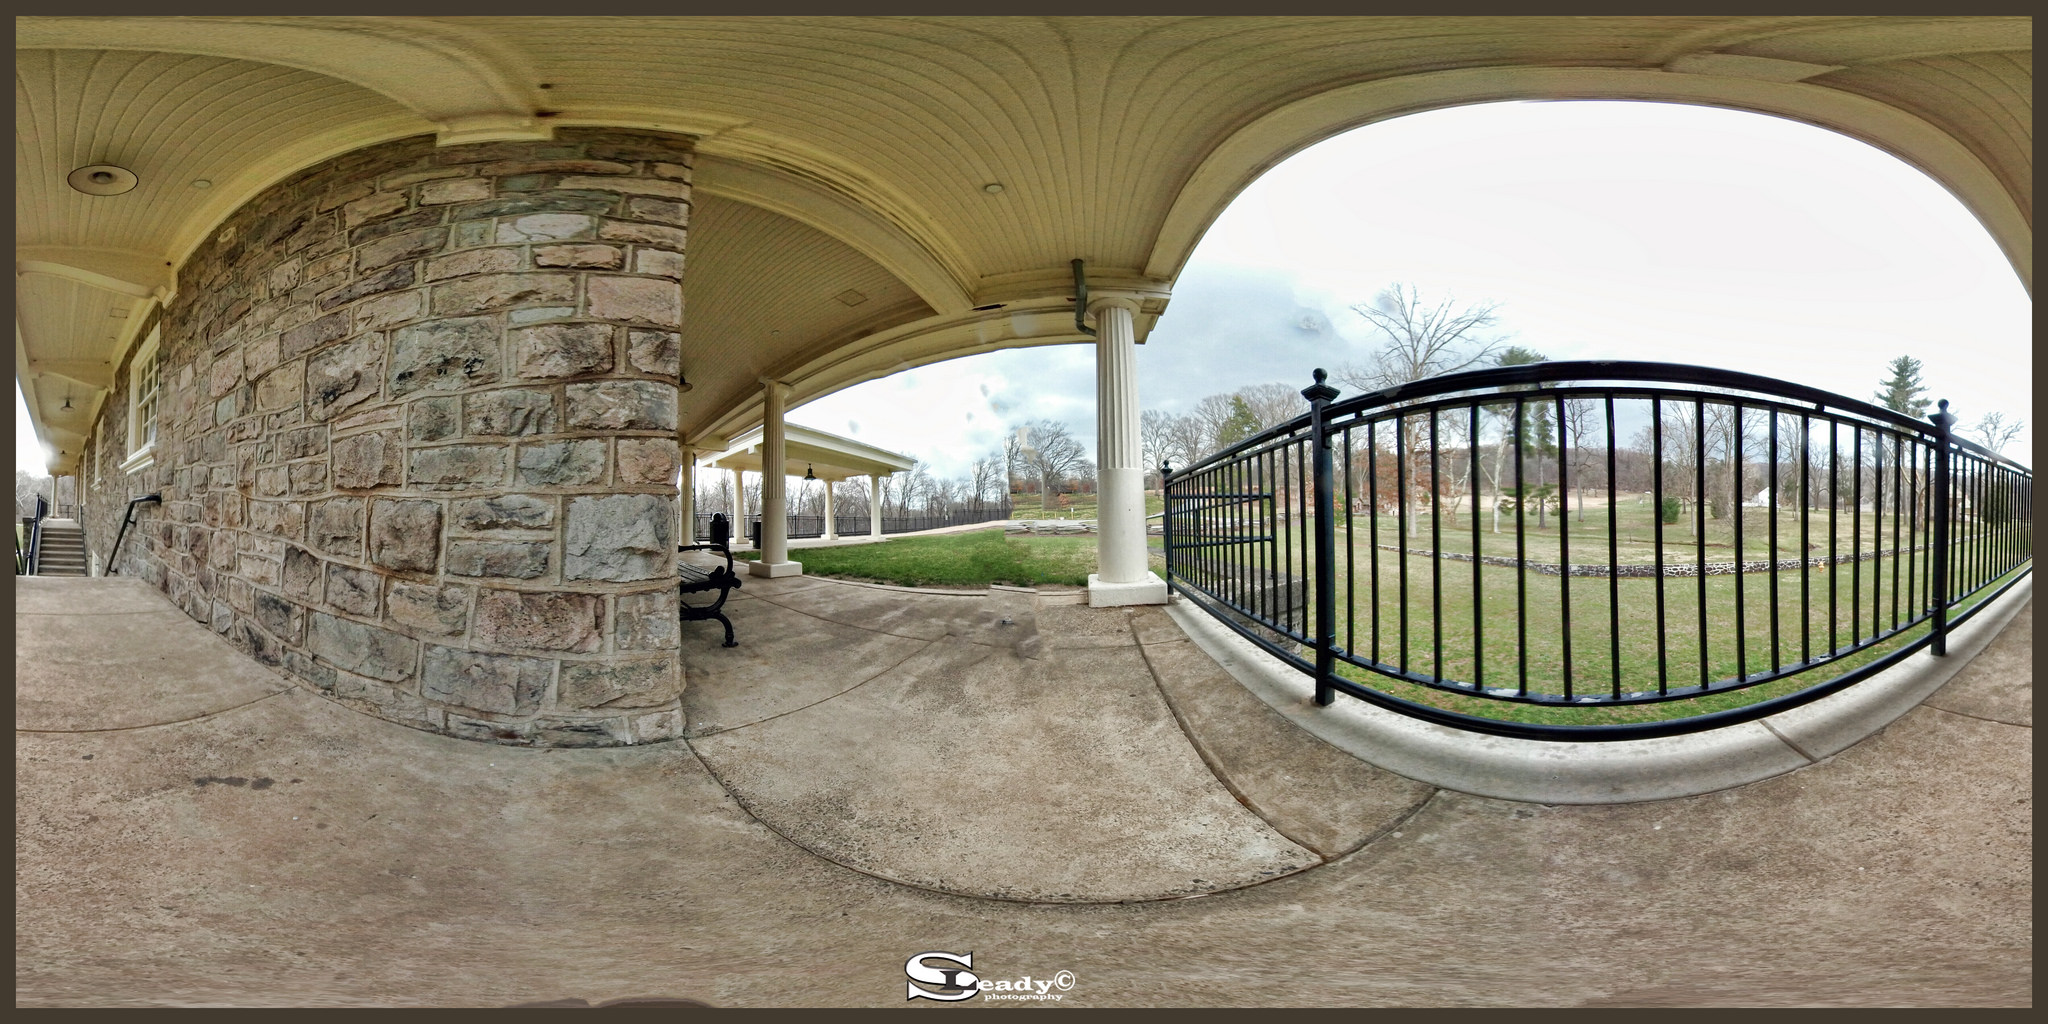:)
Ex3.4 Intro-HTML
Create an un-ordered list of colors as in (look up the <ol> element):
Ex3.5 Intro-HTML
Change the list type to an ordered list: