7. Text
Controlling text is hard and limited with A-Frame. In addition, the documentation for text is not very complete. Ask for help if you are unable to work the text as you need.
0300-text-01
[new tab ]
[source ]
 Click to load.
Use keys 'w', 'a', 's', 'd' to move around.
Mouse to look around.
Text can be added with the <a-text> primitive:
<a-text position="0 2 -2"
        value="Hello, A-Frame World!"
        align="center"></a-text>
You specify the text in the value attribute and you can position it just like any other primitive.
Color can also be specified just like in any other primitive.
Sides
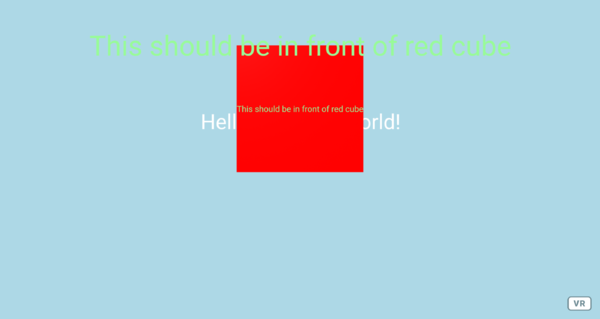
An important thing to notice about text is that, by default, text is seen only from the front side. Try navigating to the back of the box in example 0300-text-01 and check that the text seems to disappear from that perspective (Figure 1).
0300-text-01 viewed from the back.You can control which side of the text is rendered, or whether both are rendered with the side attribute, which can takes the values
front (default), back, or double:
<a-text
        position="0 2 -2"
        value="I render from the front!"
        side="front"
      ></a-text>
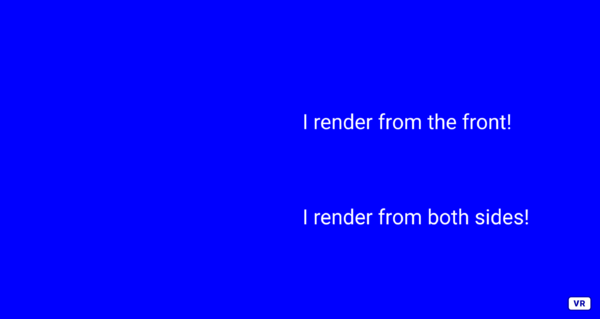
In 0300-text-02-sides, notice that you have to move around to see one of the lines of text. Also notice how the third line of text is visible even from the back:
0300-text-02-sides
[new tab ]
[source ]
 Click to load.
Use keys 'w', 'a', 's', 'd' to move around.
Mouse to look around.
0300-text-02-sides viewed from the back.Multiple lines of text
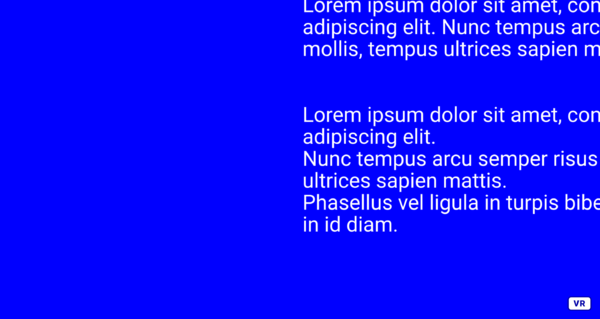
Large lines of text (with many characters) will automatically wrap at about 40 characters. In addition you can use the \n characters inside the text to explicitly create a newline:
     <a-text
        position="0 1.5 -2"
        value="Lorem ipsum dolor sit amet, consectetur adipiscing elit.\nNunc tempus arcu semper risus mollis, tempus ultrices sapien mattis.\nPhasellus vel ligula in turpis bibendum consectetur in id diam."
></a-text>0300-text-03-multiplelines
[new tab ]
[source ]
 Click to load.
Use keys 'w', 'a', 's', 'd' to move around.
Mouse to look around.
In 0300-text-03-multiplelines notice the \n in the beggining of each sentence in the second <a-text>.
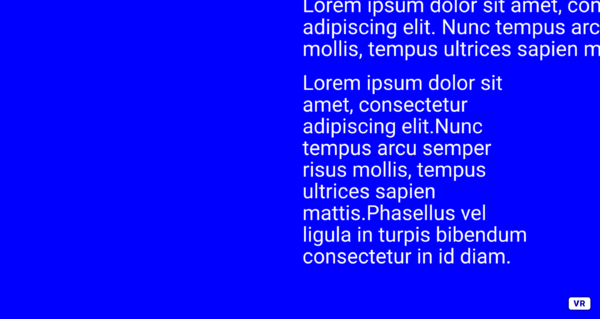
You can also control how many characters each line of text will have with the wrap-count attribute. However, please be aware that using wrap-count will automatically change the size of the text as well, so you may need to adjust width as well!
      <a-text
        position="0 1.5 -2"
        value="Lorem ipsum dolor sit amet, consectetur adipiscing elit.Nunc tempus arcu semper risus mollis, tempus ultrices sapien mattis.Phasellus vel ligula in turpis bibendum consectetur in id diam."
        wrap-count="20"
        width="2.5"
></a-text>0300-text-04-wrapcount
[new tab ]
[source ]
 Click to load.
Use keys 'w', 'a', 's', 'd' to move around.
Mouse to look around.
Aligning
Text can be aligned to the left, center, or right sides. This is defined with the align attribute:
      <a-text
        position="0 2 -2"
        value="Lorem ipsum dolor sit amet, consectetur adipiscing elit. Nunc tempus arcu semper risus mollis, tempus ultrices sapien mattis."
        align="center"
      ></a-text>
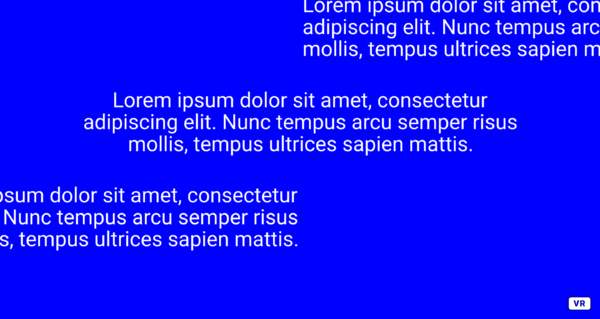
In example 0300-text-05-align you can see the three align options in effect:
0300-text-05-align
[new tab ]
[source ]
 Click to load.
Use keys 'w', 'a', 's', 'd' to move around.
Mouse to look around.
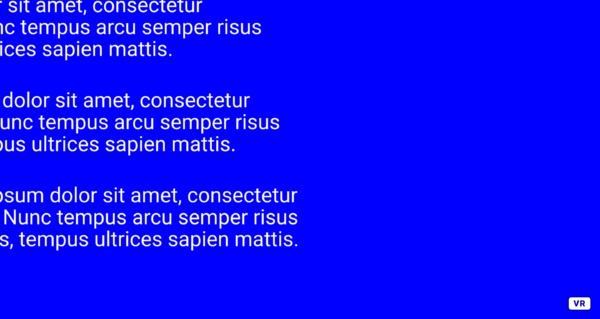
Notice how in example 0300-text-05-align the position is specify is also aligned with the side of the being being aligned (the left, the center, and the right). You may also position the text using a different reference side. For example you could have left-aligned text positioned by its right side. This is done with the anchor attribute:
      <a-text
        position="0 3 -2"
        value="Lorem ipsum dolor sit amet, consectetur adipiscing elit. Nunc tempus arcu semper risus mollis, tempus ultrices sapien mattis."
        align="left"
        anchor="right"
      ></a-text>
In example 0300-text-06-alignanchor the text is aligned as in the previous example, but it is positioned with reference to its right side in all three cases:
0300-text-06-alignanchor
[new tab ]
[source ]
 Click to load.
Use keys 'w', 'a', 's', 'd' to move around.
Mouse to look around.
Sizing
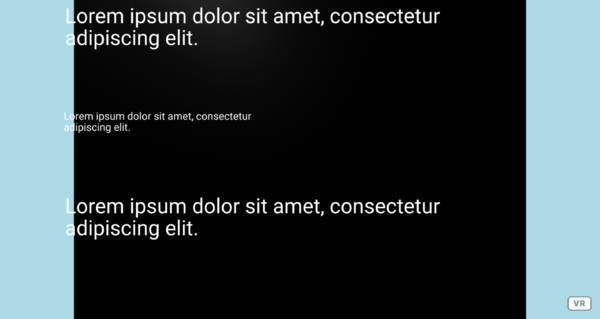
Although not correctly documented in the A-Frame website, the current default width for text is 5 meters. This can be changed by specifying the width attribute:
     <a-text
        position="-2.5 2 -2"
        value="Lorem ipsum dolor sit amet, consectetur adipiscing elit. "
              width="2.5"
      ></a-text>
Notice in the following example that the exact size of the line of text is impossible to set, but we can still control the size of the text. A background box with 5 meters wide is placed at the back for reference:
0300-text-07-sizing
[new tab ]
[source ]
 Click to load.
Use keys 'w', 'a', 's', 'd' to move around.
Mouse to look around.
Generating fonts
0300-text-08-customfont
[new tab ]
[source ]
 Click to load.
Use keys 'w', 'a', 's', 'd' to move around.
Mouse to look around.
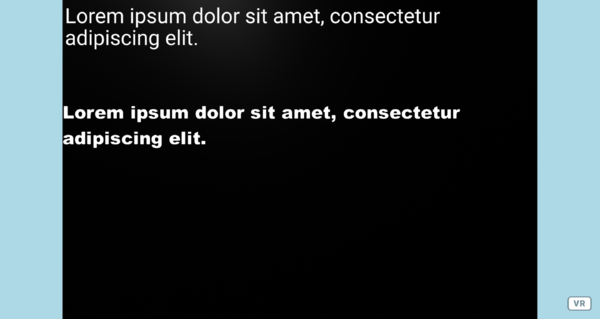
A-Frame provides a limited set of pre-defined fonts, but allows to create new ones.
The process of generating new SDF fonts is described in the A-Frame documentation.
It involves downloading an application called Hiero.
The following video illustrates the process:

The process described above generates two files: a .fnt and a .png file.
To use the custom font, you need to upload those files to Glitch and then use the font and font-image attributes. For example:
      <a-text
        position="-2.5 2 -2"
        value="Lorem ipsum dolor sit amet, consectetur adipiscing elit. "
        font="https://cdn.glitch.com/80978ab7-9db6-45ae-bc43-4fab16bdbb6e%2FArialBlack.fnt?v=1615736722603"
        font-image="https://cdn.glitch.com/80978ab7-9db6-45ae-bc43-4fab16bdbb6e%2FArialBlack.png?v=1615736724420"
        width="5"
      ></a-text>
Exercises
Text-01
Based on example 0300-text-01
- Try adding and positioning another line of text.
- Can you rotate it to align it to the side of the cube?
Text-02
Create a scene with four text objects placed around the user:
- One word in front of the user
- Another word to the right of the user
- Another word behind the user
- Another word to the left of the user
Take care to make sure that all words are facing the user
Text-03
Create a "wheel" of text as depicted in the following example:
Text-04
Create a custom font using the process described in Section Generating fonts. Use, for example, the Arial Black font.
Recreate Exercise Text-03 with the new custom font:
