1. Introduction to Glitch
This course is structured to use the Glitch platform. Glitch is a web platform that provides you with a free JavaScript-based web server for your projects.
You should get acquainted with Glitch as soon as possible and create an account and a project where you will code all the exercises and final project.
In this chapter, you will see how to create a new project from scratch, but later I will ask you to copy (Remix) an existing project for you to use during this course.
1.1 Sign up
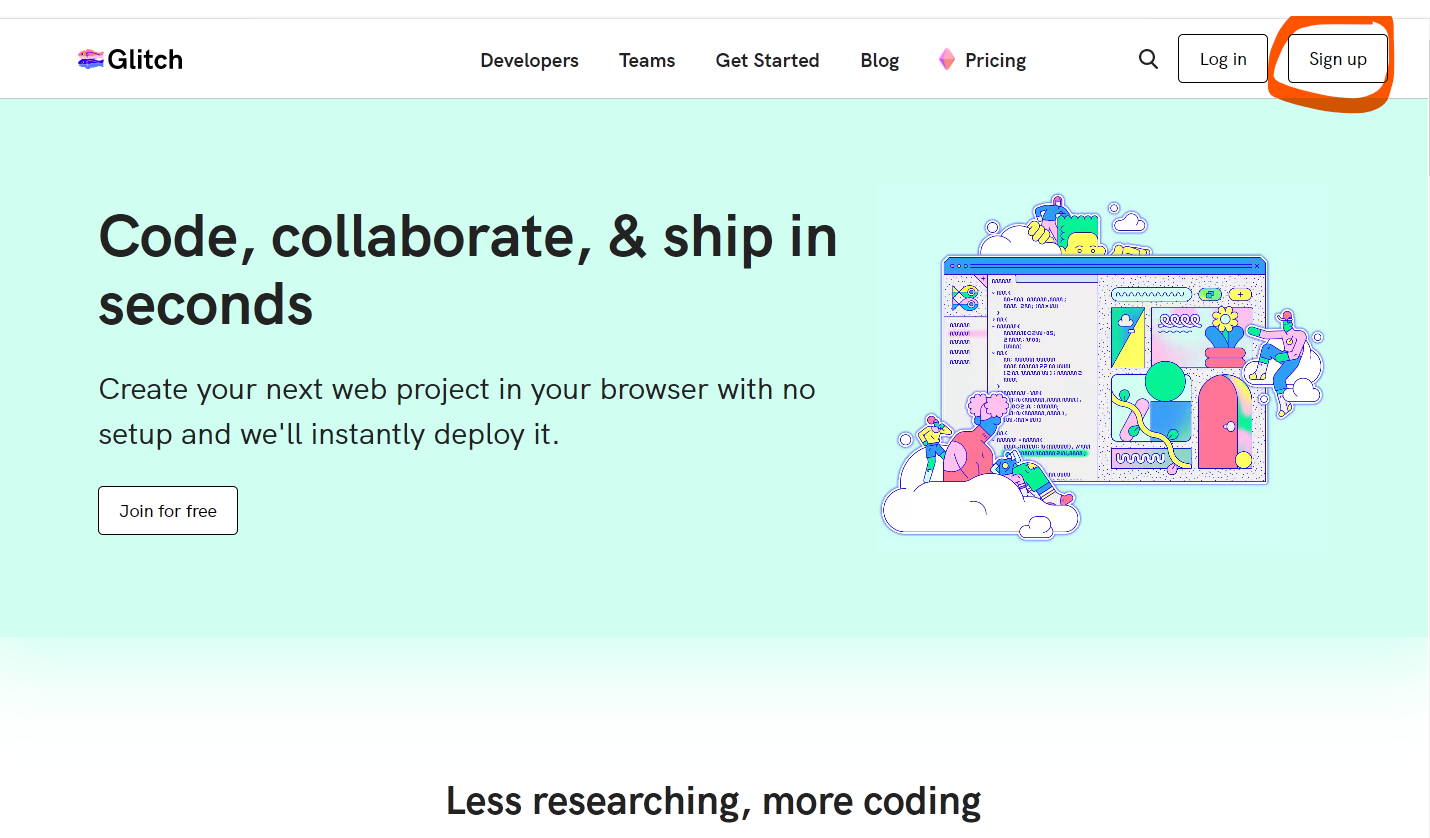
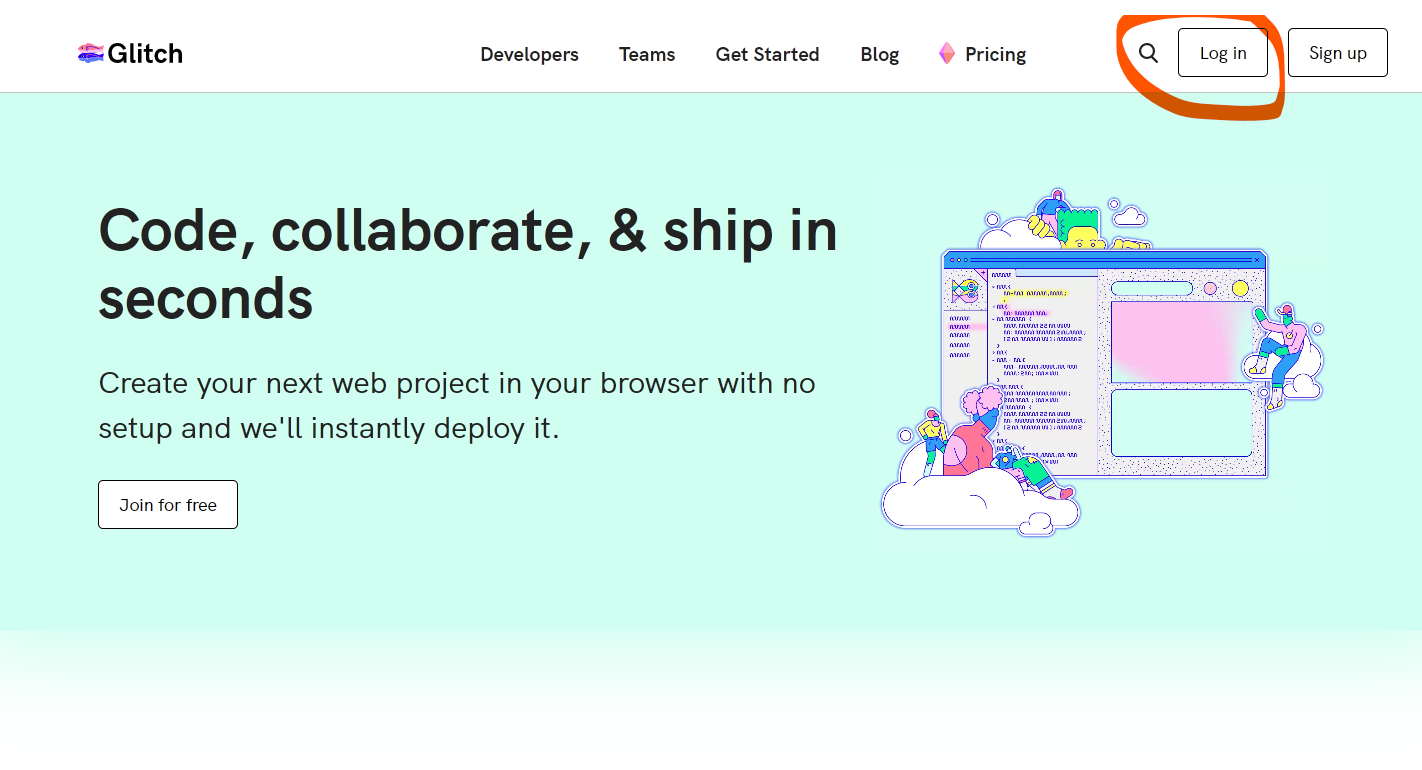
- Start by signing up on Glitch.com so that you can save your work. Go to glitch.com and click "Sign up" (Figure 1.1). You have various options for creating an account from existing social networks and I recommend you use the one you are most used to (Figure 1.2).

- Create a new project (Figure 1.3). After you sign up and login into Glitch, you should create a project (Figure 3): make sure you choose the
glitch-hellp-websitetemplate.
.png?v=1741694421647)
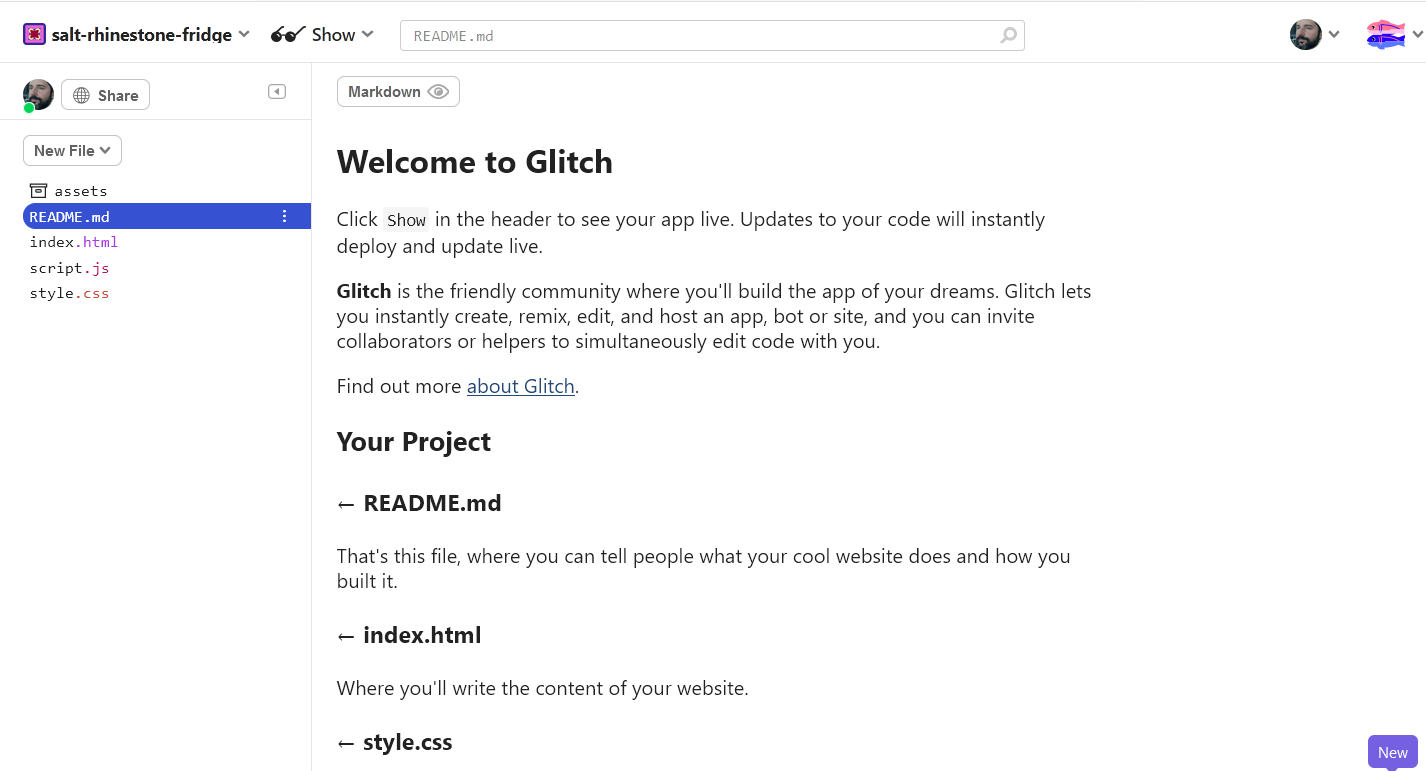
Creating a new project will take you to the editor of Glitch (Figure 1.4).
Rename your project. Glitch assigns a random name to your project. To make it easier to locate, you should change it by clicking the
Settingsbutton and thenEdit project details, and then entering a new name for the project (Figure 1.5).


1.2 Learn how to get back to your project after you sign out
You should also learn how to get back to your project after you log out. Imagine you have finished for the day and log out; on the following day you should be able to get back to the project easily:
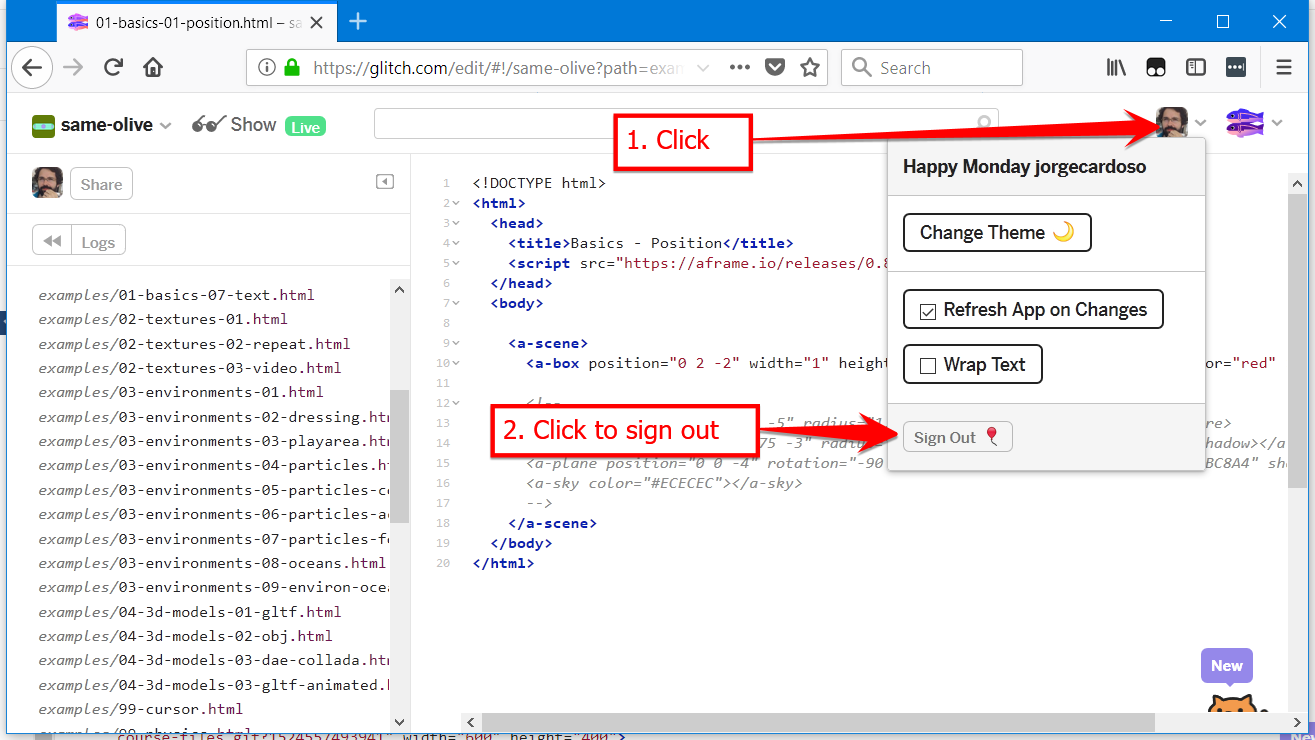
- Log out (Figure 1.6). You will be taken to Glitch's main page.
- Log in again (Figure 1.7).
- Click on the Dashboard at the top, then locate your project in the Projects section (Figure 1.8).

- Click on the project's name to edit. You are now back at the editor.
1.3 Glitch editor
The Glitch editor is a simple file editor.
- You can see a list of files on the left
- Clicking a file will open it in the file editor to the right
- There is also an "Assets" folder for putting media files

1.4 Preview the results
On Glitch, you will most often edit a file and then preview how that file looks from the perspective of a user. To do this, we need to open that file in preview (or published mode).
Glitch does not allow us to directly preview a specific file. Instead, it opens the default website homepage file, which is called index.html. In order to make it easier for us to open the file we wish in preview mode, I often delete the file index.html by right-clicking on it and selecting Delete (see Figure 1.10).

In the Glitch project that I will ask you to copy later in the course, I have made an index.html with links for the relevant files so you will not need to delete it.
To open Preview mode, we click on the Preview button at the bottom and select Preview in a new window -- see Figure 1.11 (I do not recommend the alternative option of Open preview pane because it opens a pane on the right side of the coding window which is too small and if you have auto-refresh on it will keep going back to the folder view).

The preview will open a new tab on your browser, which you can keep open (you don't need to keep opening new preview windows). It will show you the folder view of your project (see Figure 1.12), on which you can just pick the file that you want to preview. If you have your project structured in folders, you can open a folder and then select the file to preview.

An important thing to notice is the address of the file or of the folder view for your project (see Figure 1.13): this is the address you will need to enter on your smartphone or on your VR headset's browser to view it that device (it is usually easier to enter the folder view address and then select the specific file within your device's browser).
